Login with PuTTY SSH or the console in the control panel as root and install fail2ban through the following steps:
– Download the RPM repository for fail2ban:
rpm -Uhv http://mirrors.ircam.fr/pub/fedora/epel/6/i386/epel-release-6-8.noarch.rpm
yum install epel-release
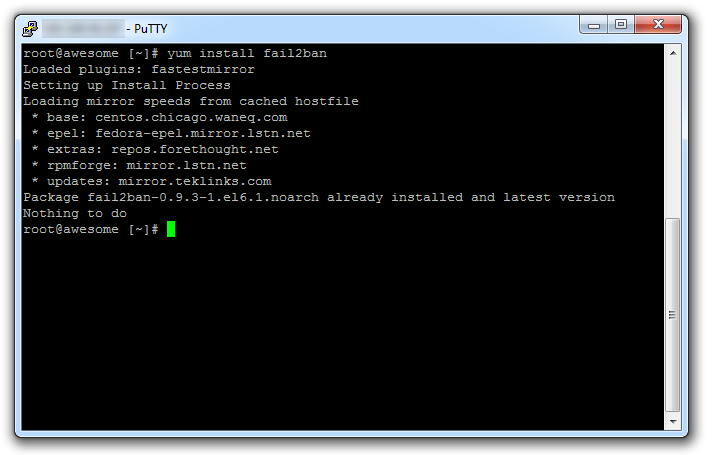
yum install fail2ban
Type Y, and then then click enter if you are asked to continue installing.
Now fail2ban installed on your server, but not yet configured and started.
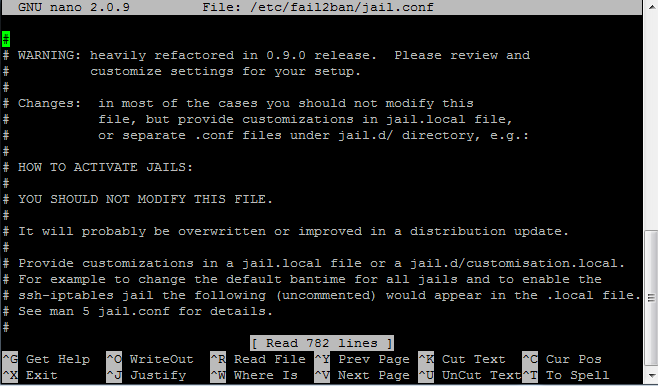
You can open the configuration file with an editor such as nano:
nano /etc/fail2ban/jail.conf
Some things are easy to adjust to your liking, including the following values to this file.
[dovecot-pop3imap]
enabled = true
filter = dovecot-pop3imap
action = iptables-multiport[name=dovecot-pop3imap, port=”pop3,pop3s,imap,imaps”, protocol=tcp]
sendmail-whois[name=dovecot-pop3imap, dest=root, [email protected]]
logpath = /var/log/maillog
maxretry = 20
findtime = 1200
bantime = 1200
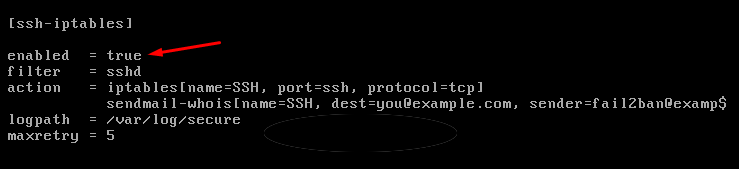
In jail.conf you can activate fail2ban for various functions such as SSH, FTP, SMTP, etc. In this case we activate fail2ban for SSH.
Scroll down until you see ssh-iptables and change enabled to true and your email address, so you automatically get an email when an IP is blocked, as maxretry you can enter how many login attempts an IP address is blocked.
When you’re done, save the file by pressing CTRL + X, then Y for Yes and press enter.
Now you are back in the console, you start the service fail2ban:
service fail2ban start
Make sure service is start while boot up.
chkconfig fail2ban –level=235 on
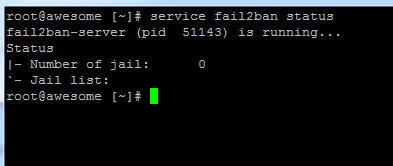
Check is it working or not.
service fail2ban status
Now fail2ban is running! Each IP address that is 5 times incorrectly logs will now automatically included in the firewall.